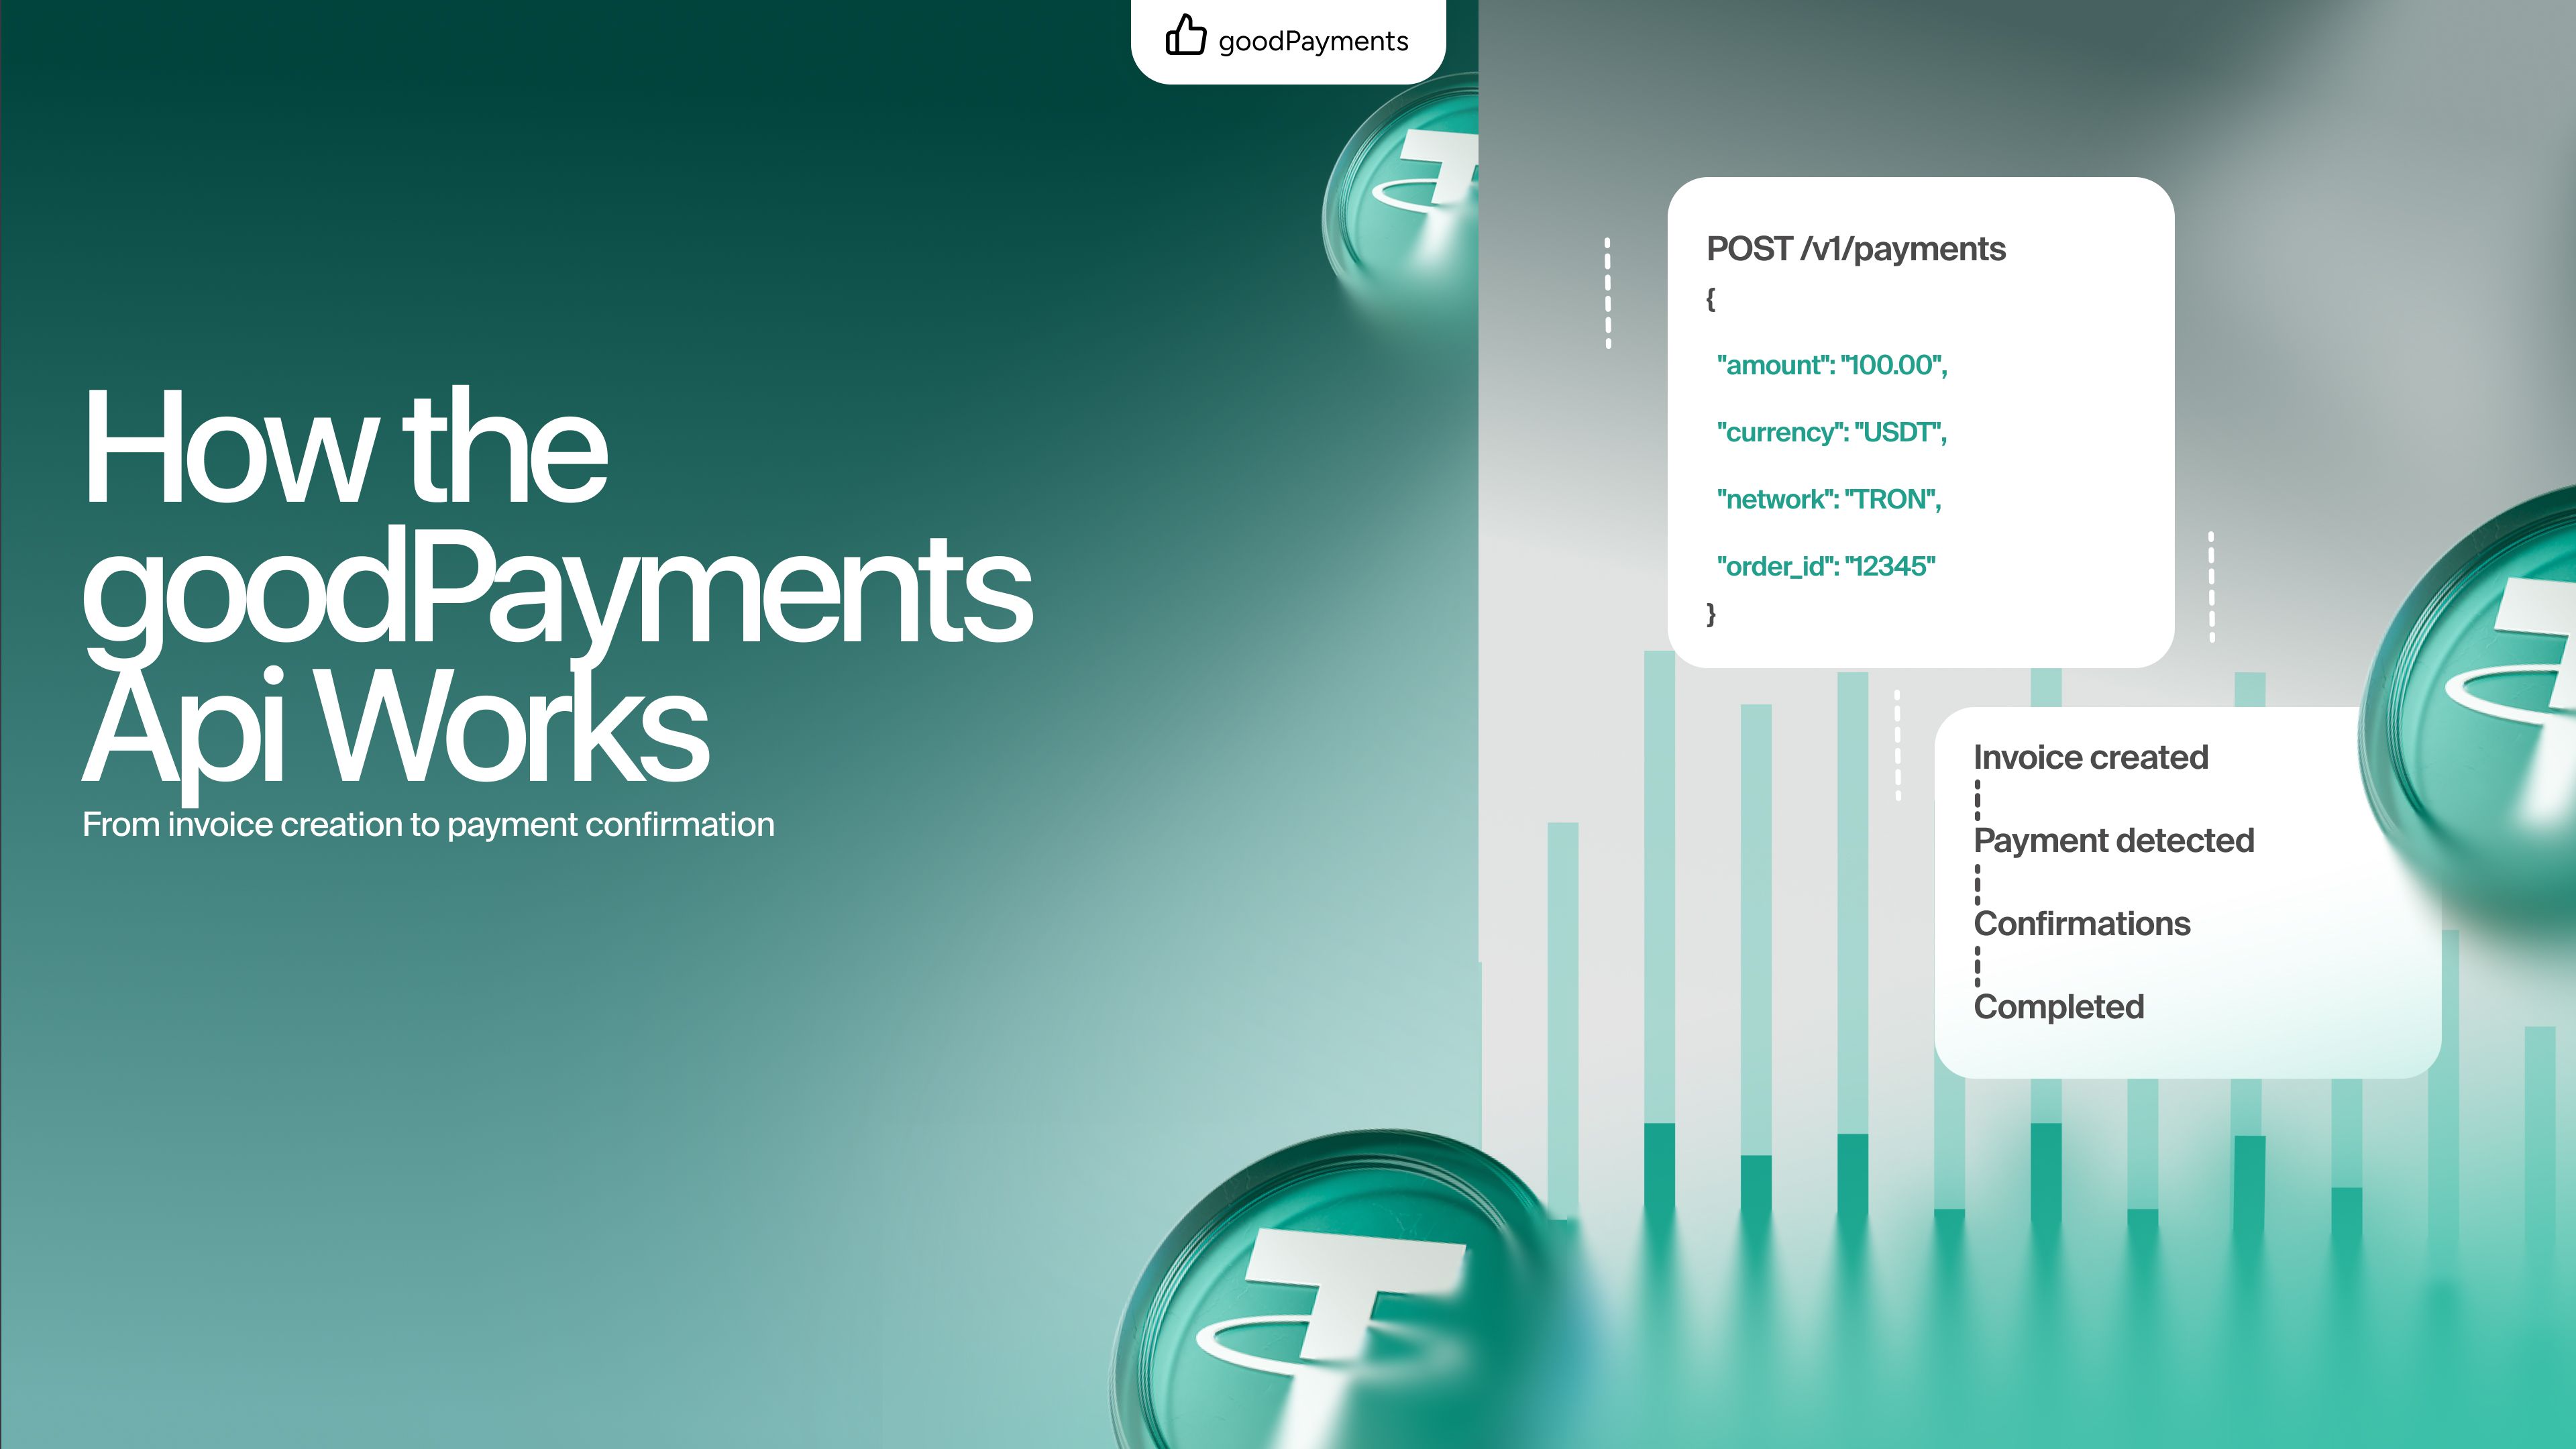
How the goodPayments Crypto Payment API Works: From Invoice Creation to Payment Confirmation
Learn how the goodPayments API handles TRX and USDT TRC-20 payments, from invoice creation and transaction tracking to order fulfilment and reconciliation.

Adding crypto payments to your website can be simple, but launching without a clear checklist can create avoidable problems.
Unlike traditional card payments, crypto transactions are irreversible. If a customer sends funds to the wrong network, enters the wrong amount, or misunderstands the payment flow, it may be difficult or impossible to fix the issue later.
That is why businesses should test not only the technical side of the integration, but also the full user experience.
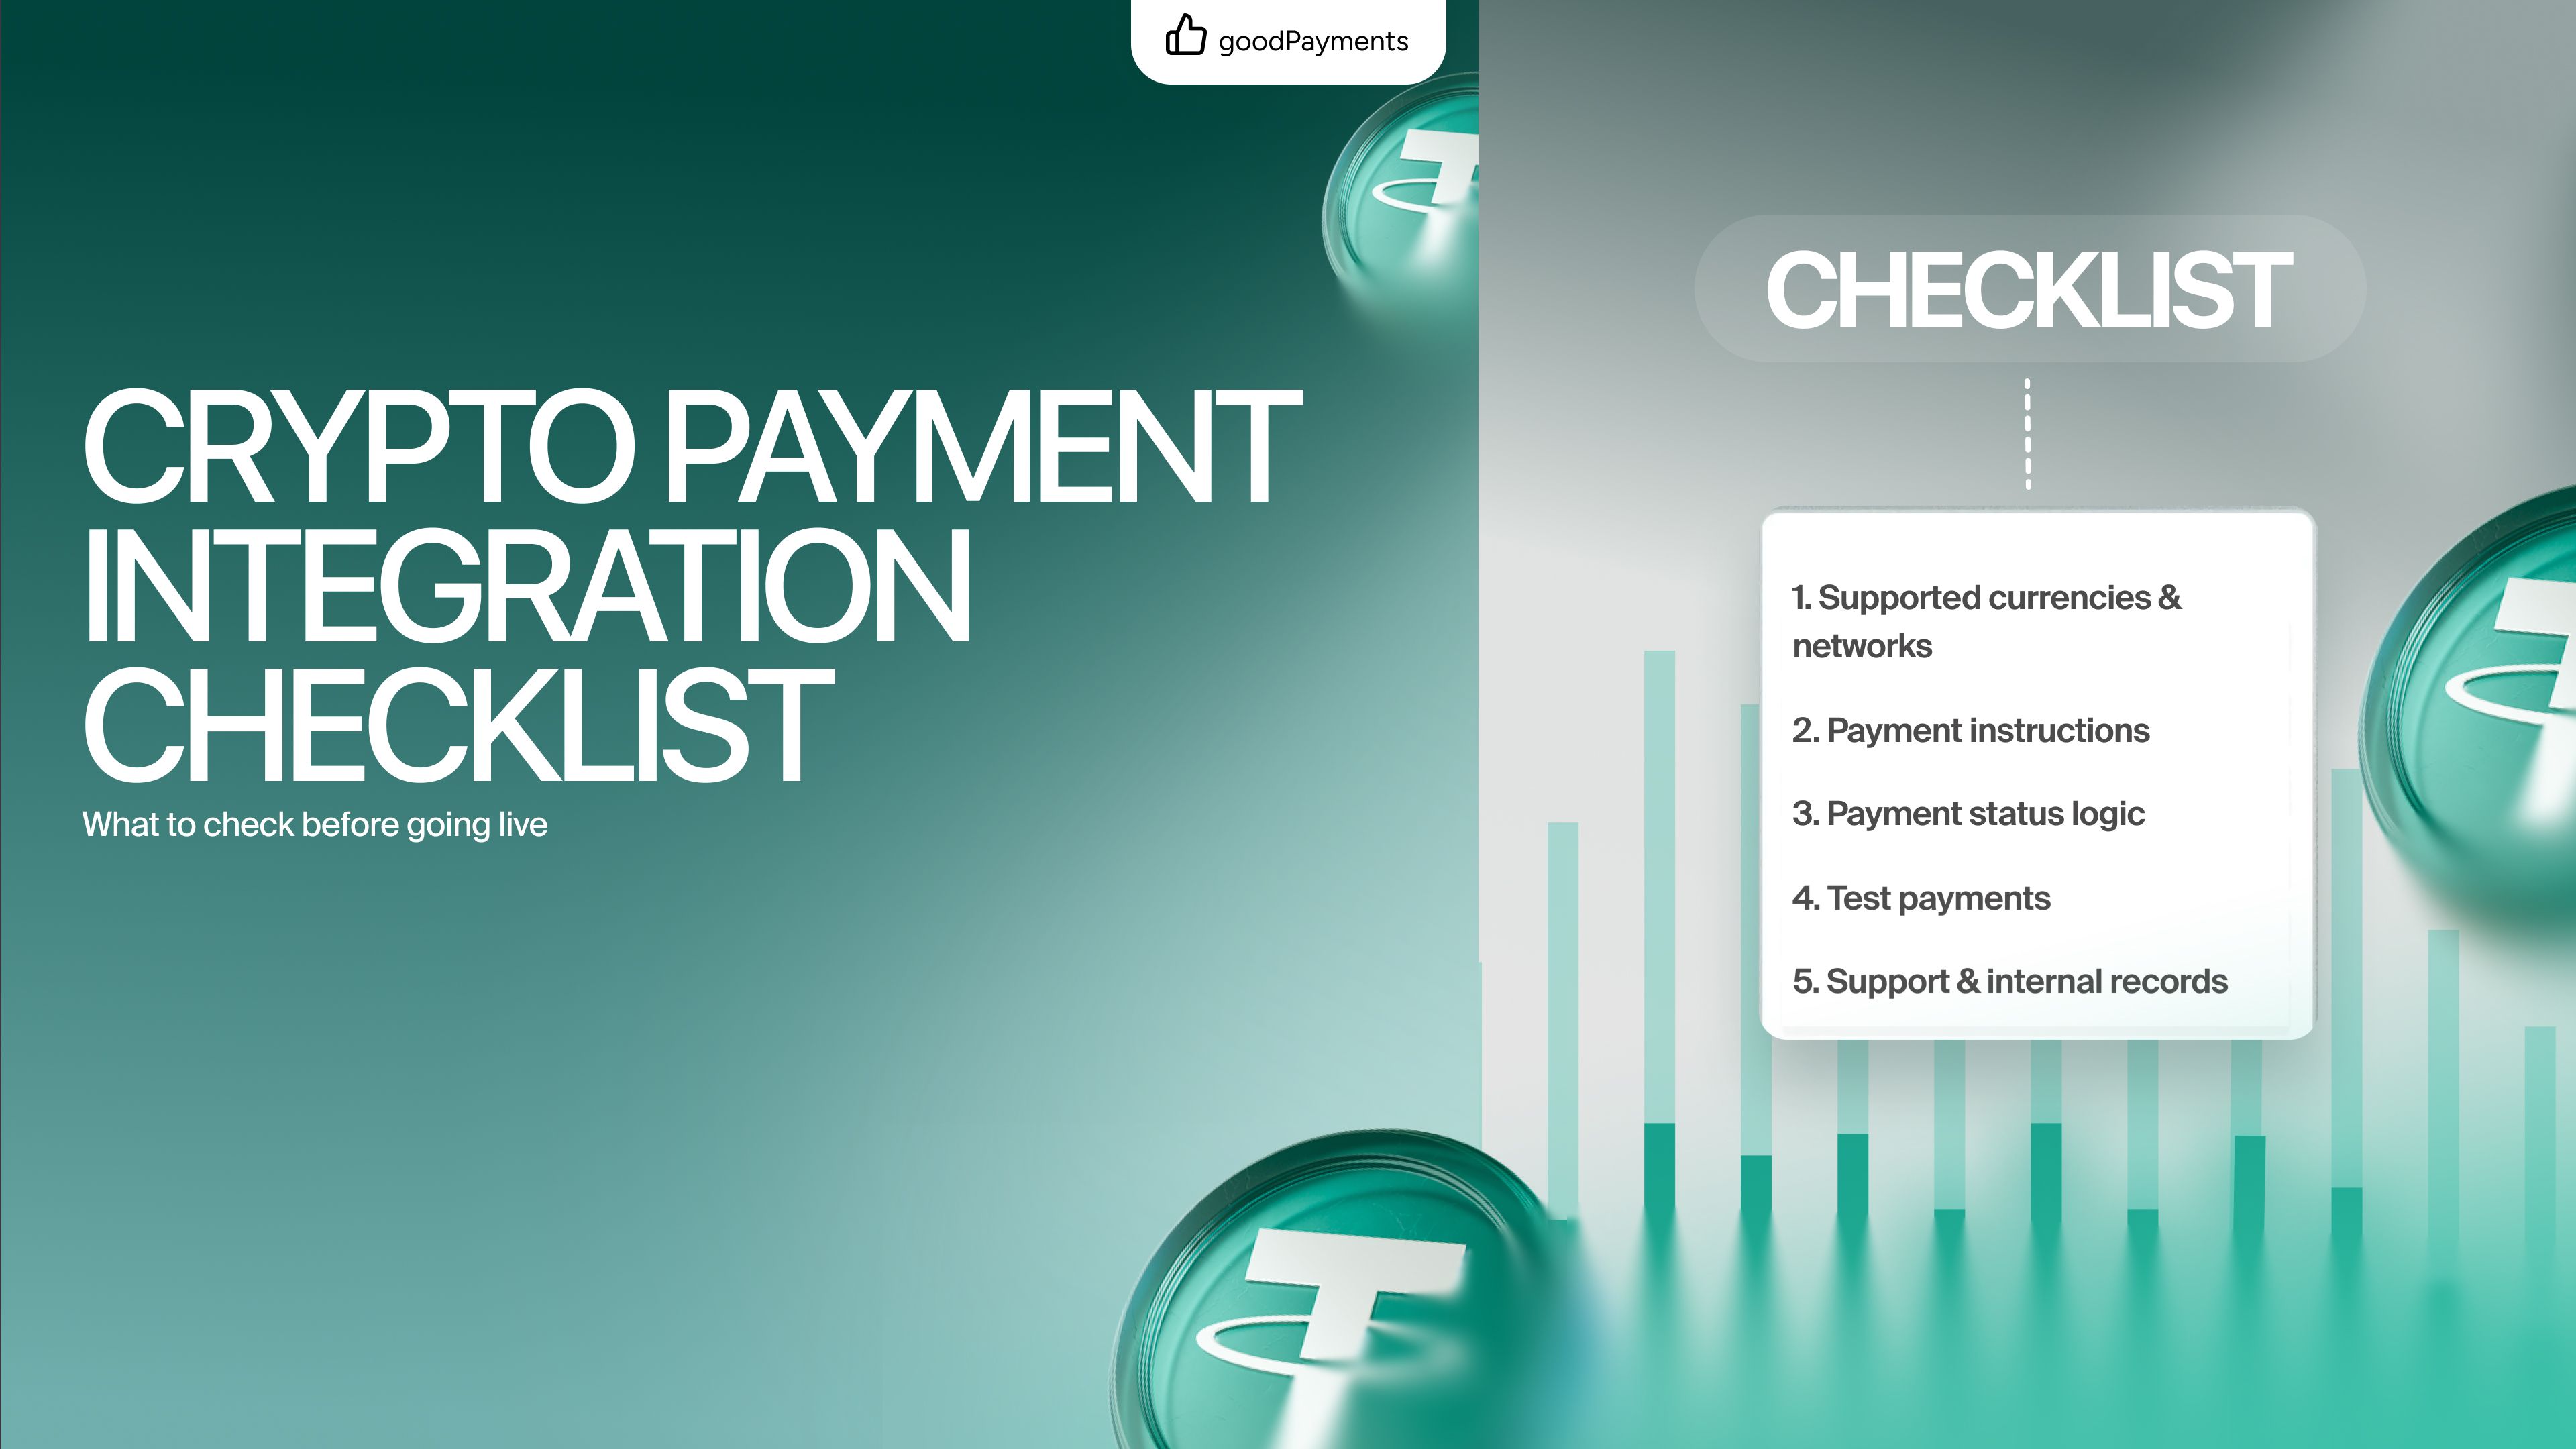
A good crypto payment setup should answer three questions:
Before going live, use this checklist to make sure your payment flow is clear, reliable, and ready for real users.
The first step is making sure your website clearly shows which currencies and networks are supported.
This is especially important for USDT.
USDT exists on multiple networks, including TRC-20, ERC-20, BEP-20, and others. These are not interchangeable. If your checkout accepts USDT TRC-20, the customer must understand that clearly.
Before launch, check that your payment page shows:
Do not show only “USDT” without the network. This is one of the most common causes of user mistakes.
With goodPayments, businesses can accept USDT TRC-20 and TRX, so the payment flow should make this clear at every step.
A working integration is not always the same as a good payment experience.
Before going live, test the full journey as if you are a real customer.
Start from the moment the customer chooses crypto as a payment method. Then go through the payment page, copy the wallet address, send a small test payment, wait for confirmation, and check what happens after the transaction is detected.
Pay attention to details:
Does the customer know what to do after sending funds?
If anything feels confusing during the test, it will probably confuse real customers too.
Crypto users may be experienced, but your checkout should still be simple.
The customer should not have to guess what to send or where to send it.
A clear payment page should explain:
This does not mean adding long instructions. The best payment instructions are short and visible at the right moment.
For example: “Send only USDT TRC-20 to this address.”
This kind of simple note can prevent wrong-network payments and reduce support requests.
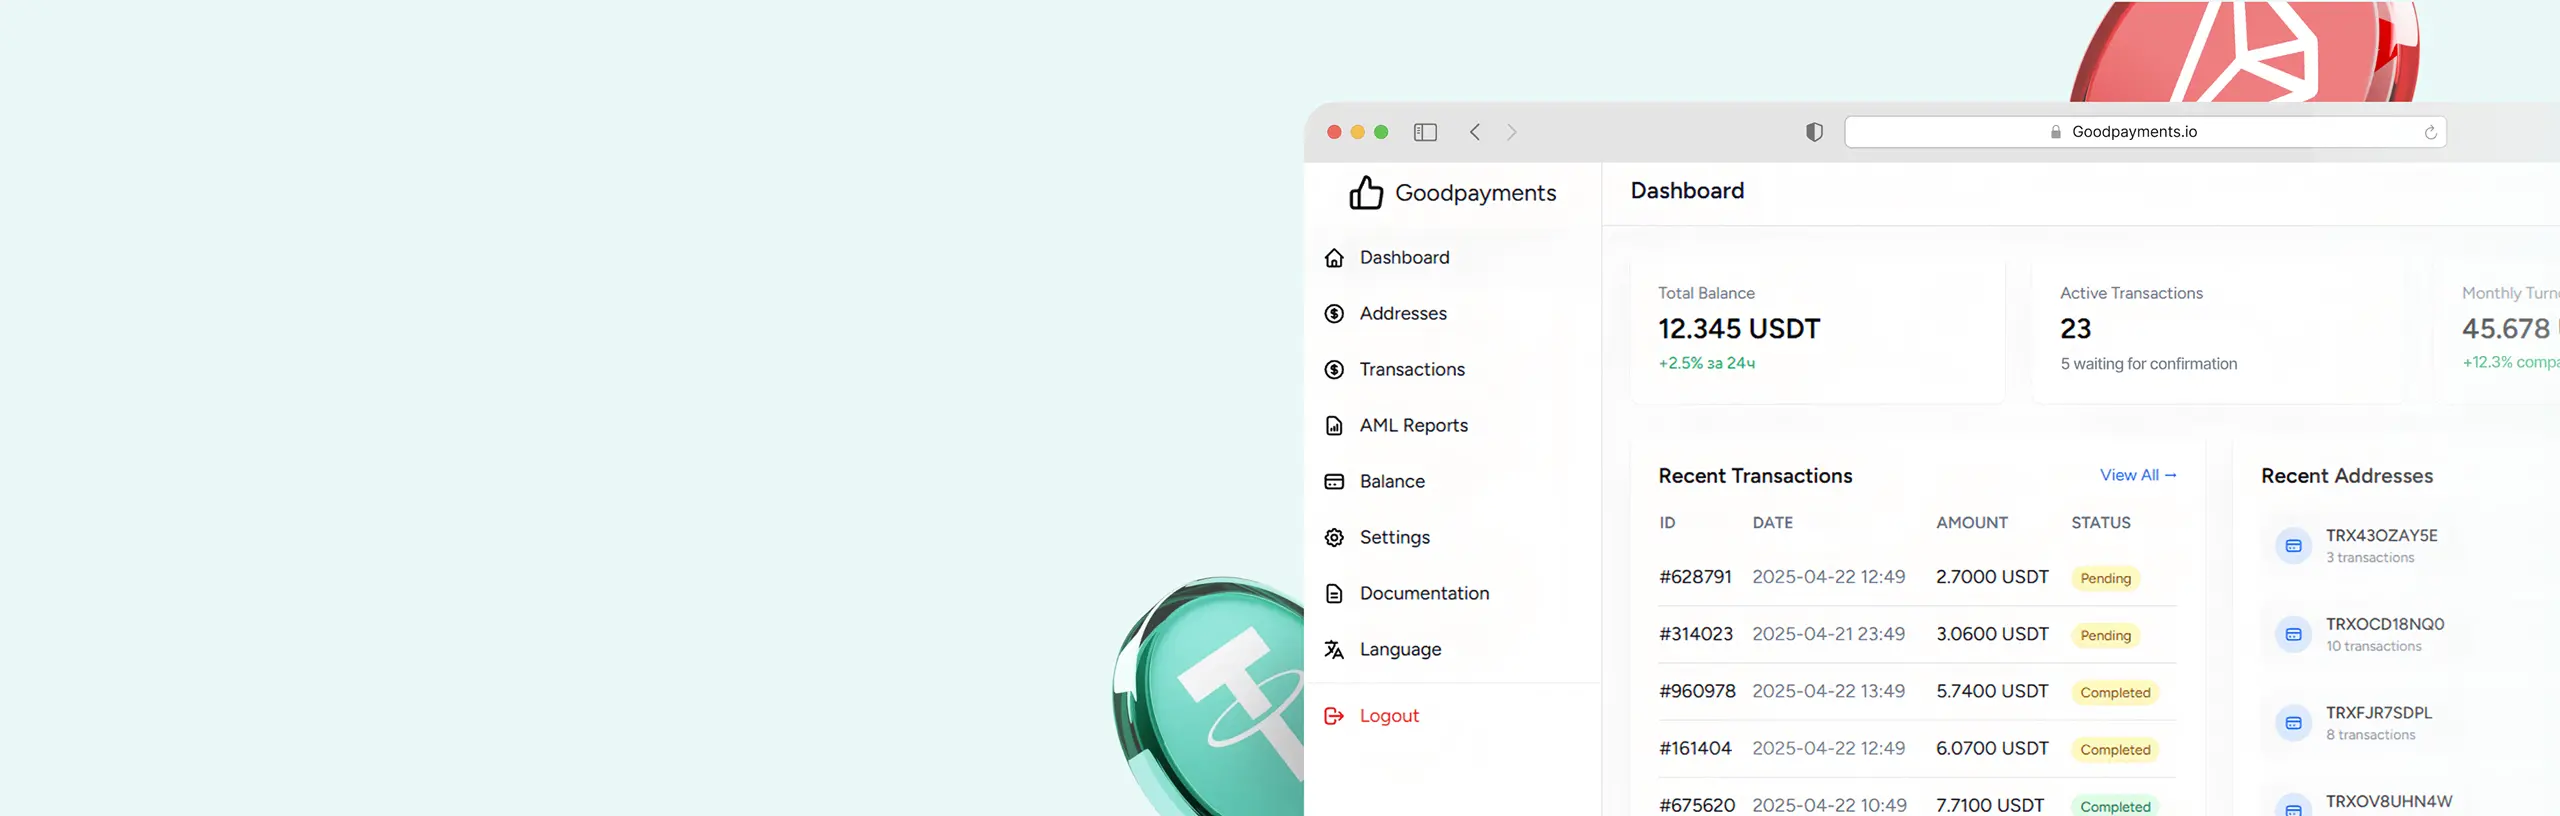
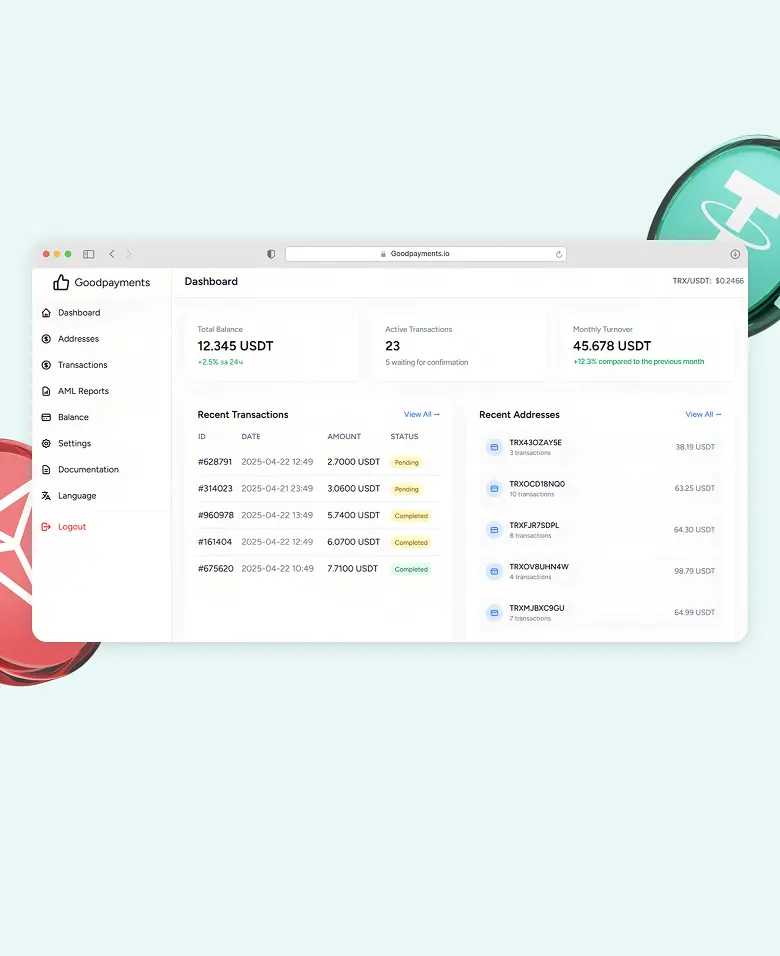
After the customer sends funds, your website should clearly show what is happening.
Payment status is one of the most important parts of crypto checkout.
Your flow should support clear states such as:
Without clear status updates, customers may become unsure whether their payment worked. This can lead to duplicate payments, support tickets, and abandoned checkout sessions.
If you use API integration, make sure your system correctly updates order status after payment confirmation.
If you use payment links, make sure the customer still has a clear confirmation path.
Never launch a crypto payment flow without test transactions.
Even if everything looks correct in the dashboard, a real transaction test helps catch issues that may not be visible during setup.
Before going live, send a small amount and check:
Testing with small payments is a simple way to avoid larger problems later.
Some payment flows use expiration timers.
This matters because crypto prices, network conditions, and customer behavior can vary. Even with stablecoins like USDT, businesses may still want a clear time window for each payment request.
Before launch, decide what happens if a customer pays too late.
Should the order expire?
Should the payment still be accepted?
Should support review it manually?
Your team should understand this flow before real payments start.
Even if the payment process is simple, edge cases still happen. A clear expiration policy helps avoid confusion.
Crypto payments reduce many problems, but they do not remove support completely.
Customers may still ask questions like:
Before launch, prepare short internal answers for common questions.
Your support team should understand:
A prepared support team makes the payment experience smoother for customers and reduces panic when unusual cases appear.
Payment integration is not only about accepting money.
Your business also needs clean internal records.
Before launch, check how your team will track:
This becomes especially important as volume grows.
If payments are connected to orders, accounts, or invoices, internal tracking should be consistent from day one.
Good records help with reconciliation, support, analytics, and finance operations.
Not every business needs a full API integration from the beginning.
If you are testing crypto payments or processing low-volume payments manually, payment links can be enough.
If your business needs automated checkout, payment status tracking, order updates, or user balance logic, API integration is usually the better option.
Before going live, make sure your integration method matches your business stage.
Payment links are better for speed.
API integration is better for automation and scale.
With goodPayments, businesses can use payment links for a quick start or API integration for more advanced workflows.
A payment integration should not feel disconnected from the rest of your website.
Before launch, check how the user reaches the payment page and what happens after payment is complete.
The flow should be clear:
If the customer reaches a dead end after paying, the experience feels unfinished.
Add a clear success page, confirmation message, or next step.
This is a small detail, but it makes the checkout feel professional.

Showing USDT Without Network Details
This is one of the biggest mistakes in crypto checkout.
Always show whether the payment is USDT TRC-20, not just USDT.
Skipping Real Transaction Tests
A payment page can look correct but still fail in real usage.
Always test with small transactions before launch.
Making the Checkout Too Technical
Customers do not need to see unnecessary technical details.
Show what matters: asset, network, amount, address, and status.
Forgetting About Support
Even the best payment flow needs basic support preparation.
If your team cannot answer simple crypto payment questions, users may lose trust quickly.

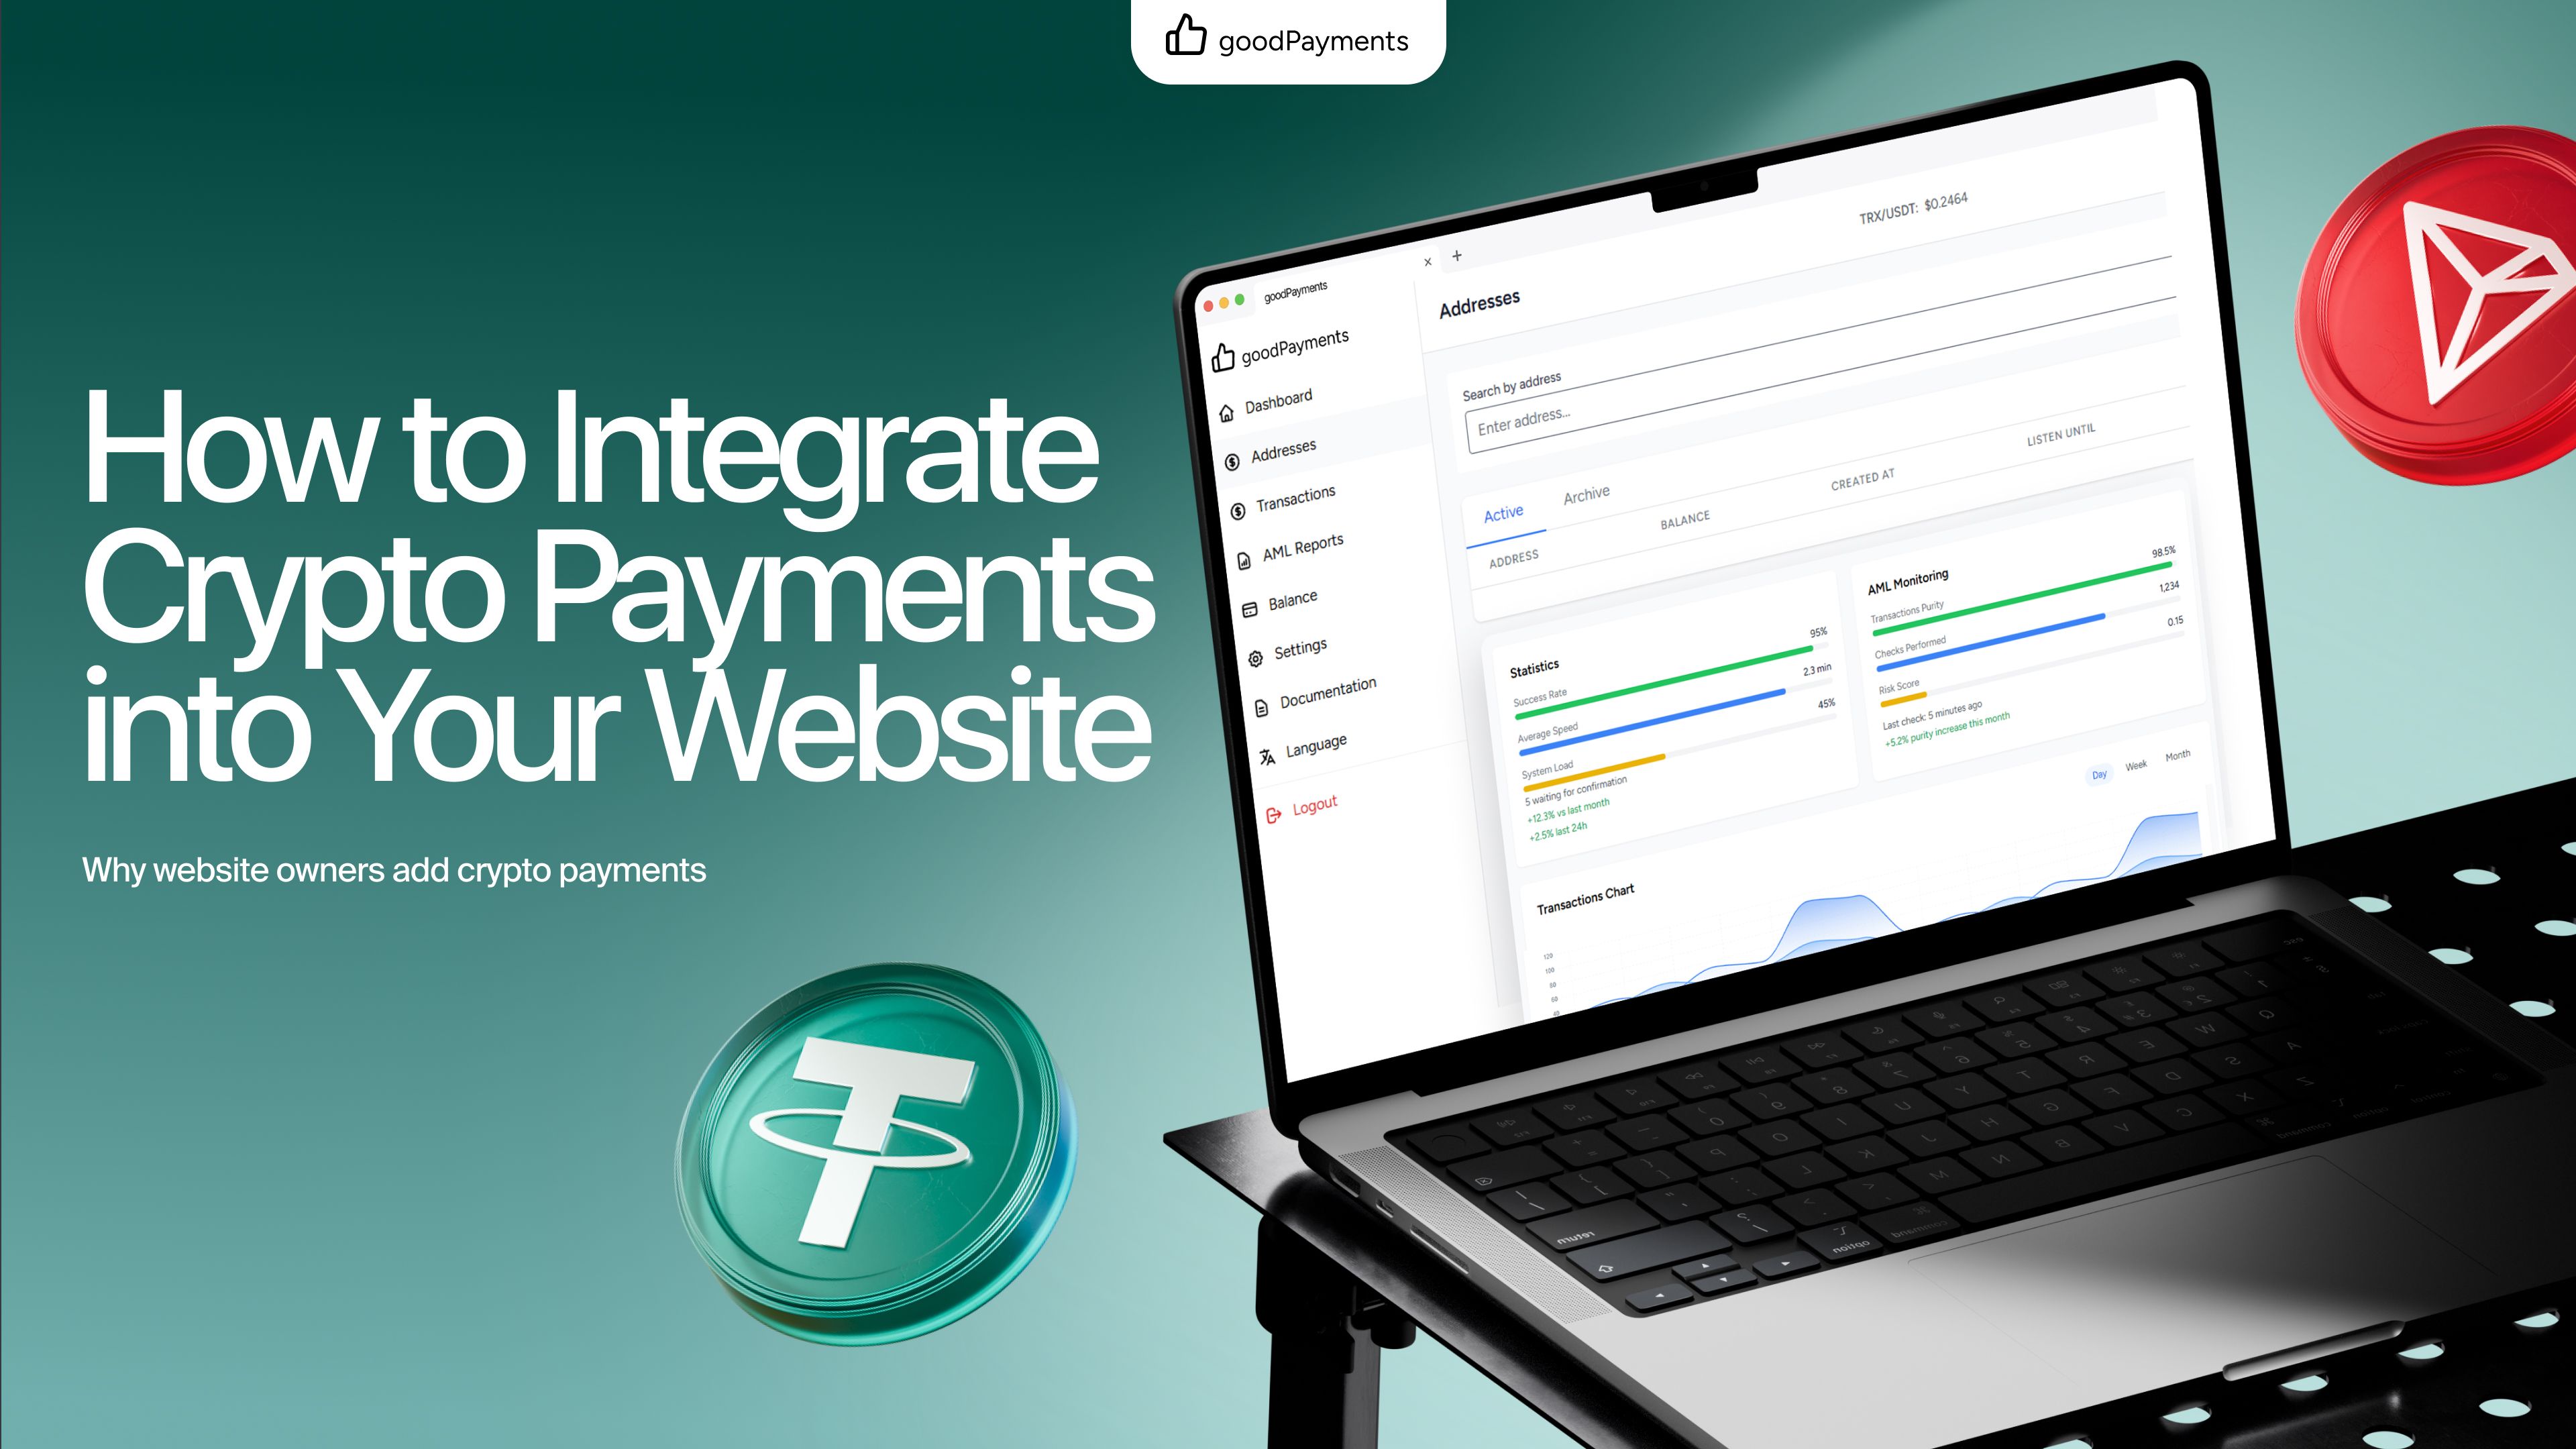
goodPayments is designed to make crypto payment integration simple for online businesses.
It supports USDT TRC-20 and TRX payments and gives businesses a flexible way to start accepting crypto without unnecessary complexity.
With goodPayments, businesses can use:
This makes it easier to launch crypto payments, test the flow, and scale later when payment volume grows.
The key advantage is flexibility. You do not need to overbuild from the beginning, but you also have a path toward deeper integration when your business needs it.
Launching crypto payments is not only about connecting a provider.
It is about creating a clear, reliable payment experience for your customers and a clean operational process for your team.
Before going live, check the basics: supported networks, customer instructions, payment status, test transactions, internal records, and support readiness.
A strong integration reduces mistakes before they happen.
With goodPayments, businesses can start accepting USDT TRC-20 and TRX payments through a simple setup, then scale toward more advanced payment flows when needed.
Learn how the goodPayments API handles TRX and USDT TRC-20 payments, from invoice creation and transaction tracking to order fulfilment and reconciliation.
Compare payment links and API integration for crypto payments. Learn which option fits your business and how goodPayments helps you accept USDT TRC-20 and TRX.
Learn how to integrate crypto payments into your website, choose between payment links and API integration, and start accepting USDT TRC-20 with goodPayments.